Tile Flooring Install
Laundry Room
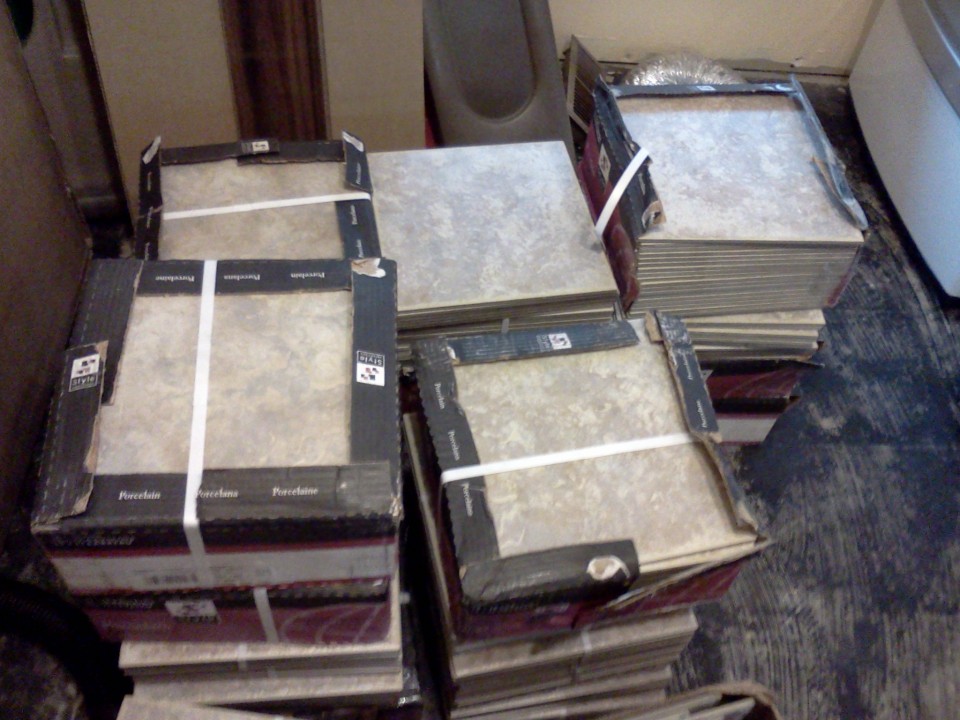
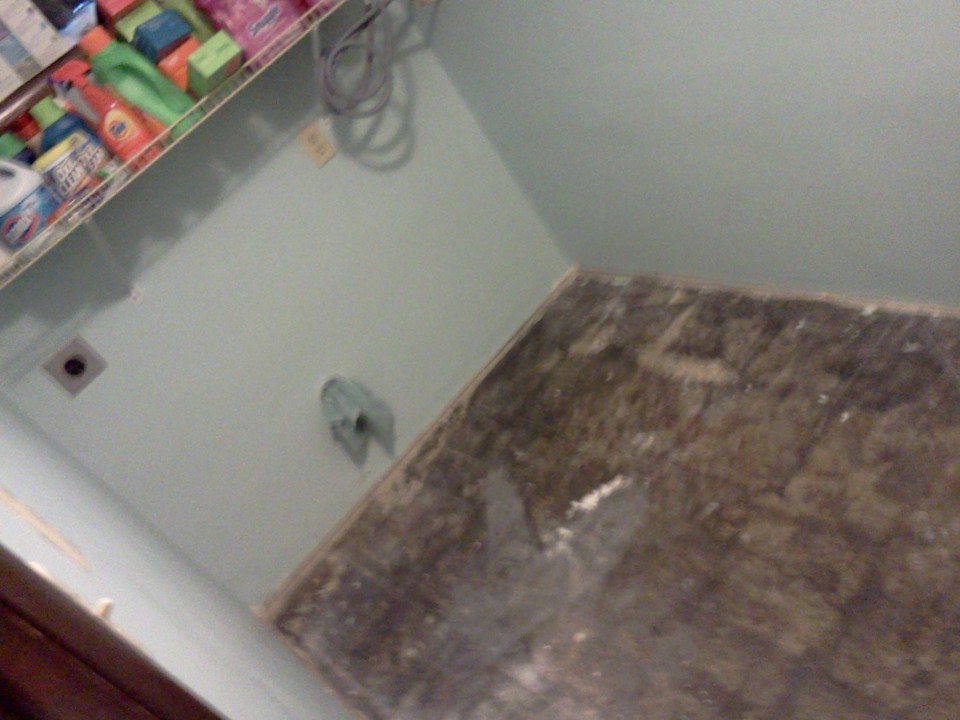
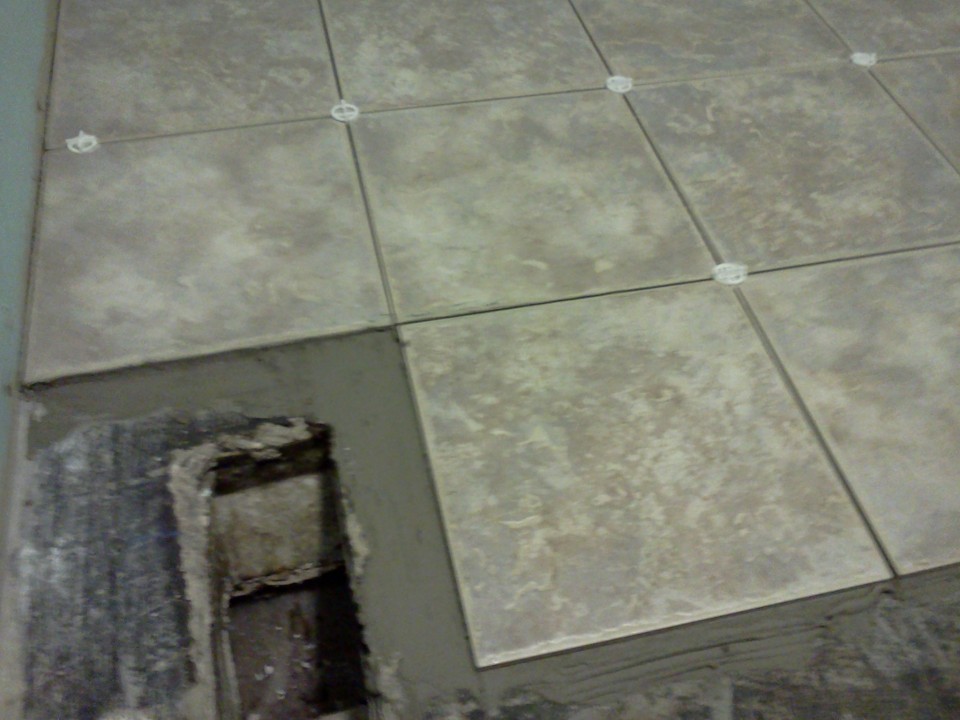
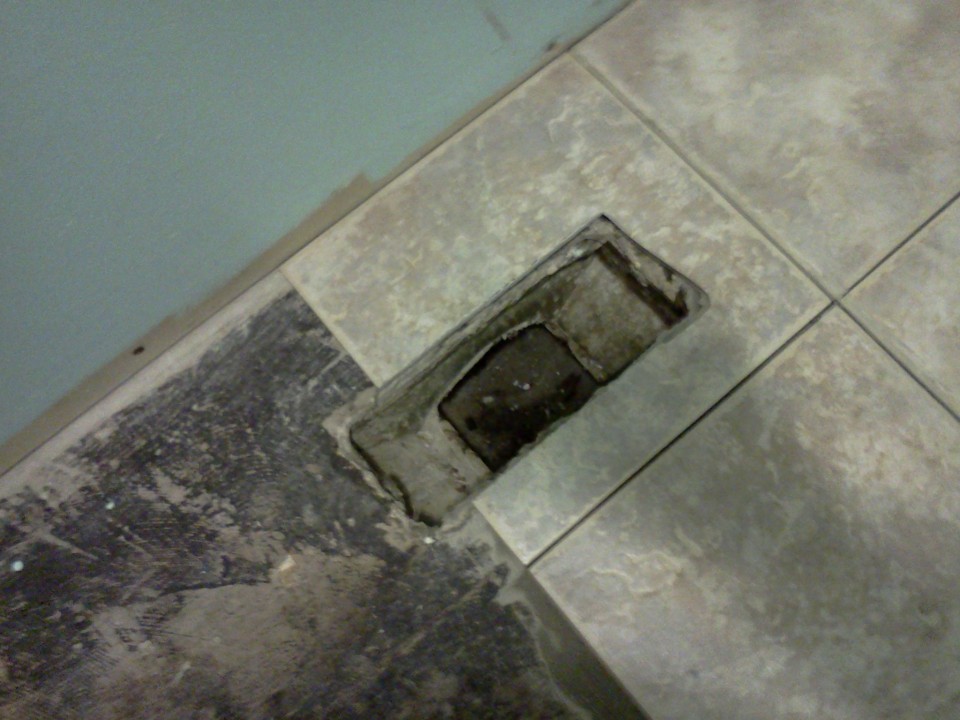
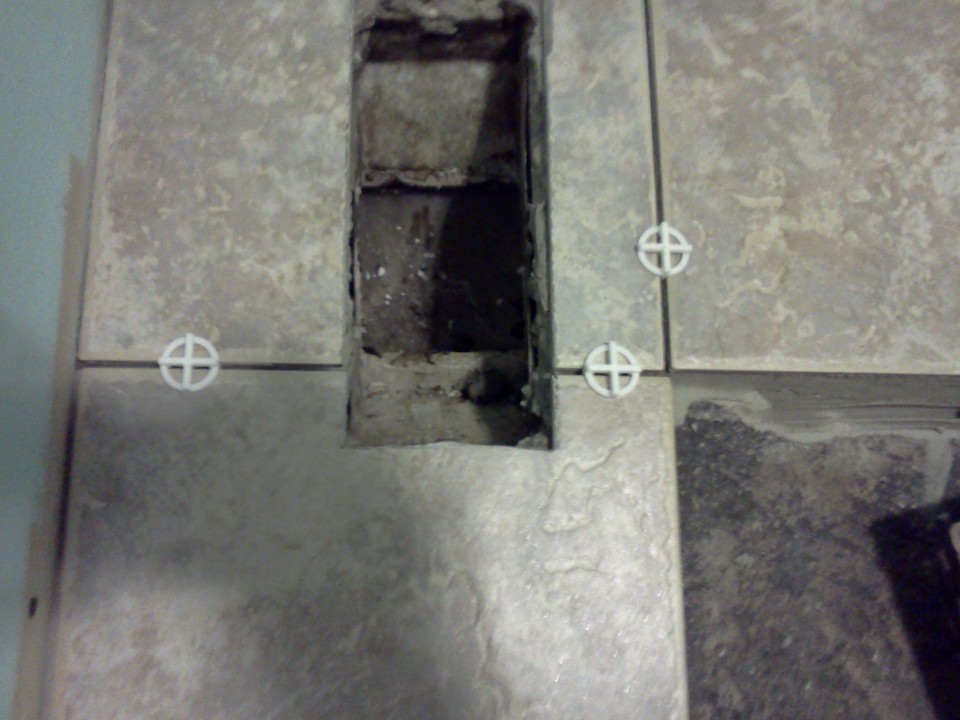
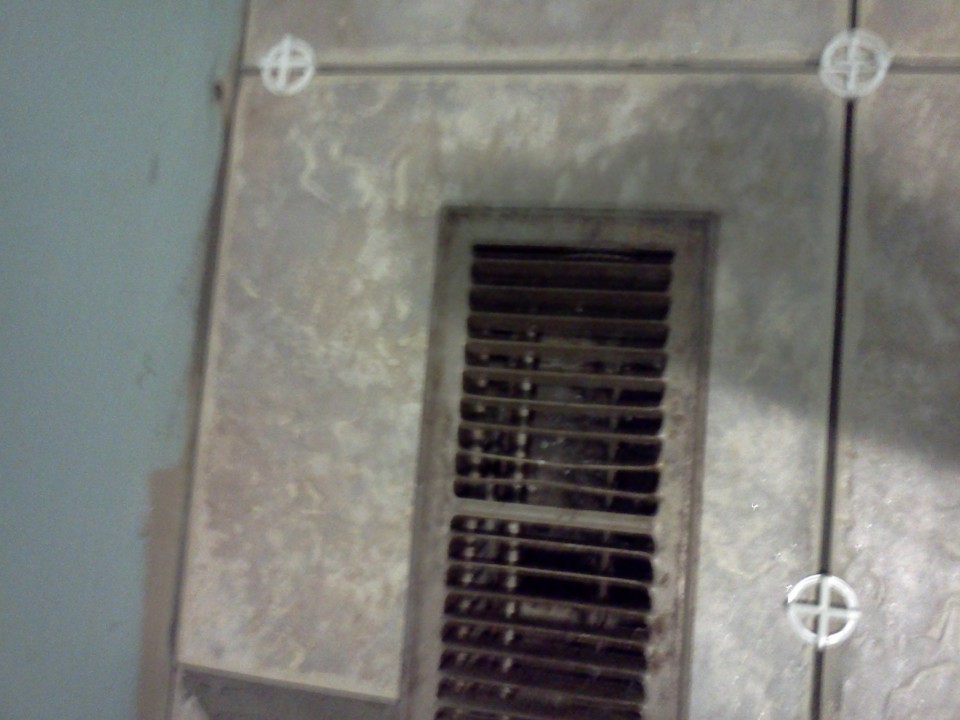
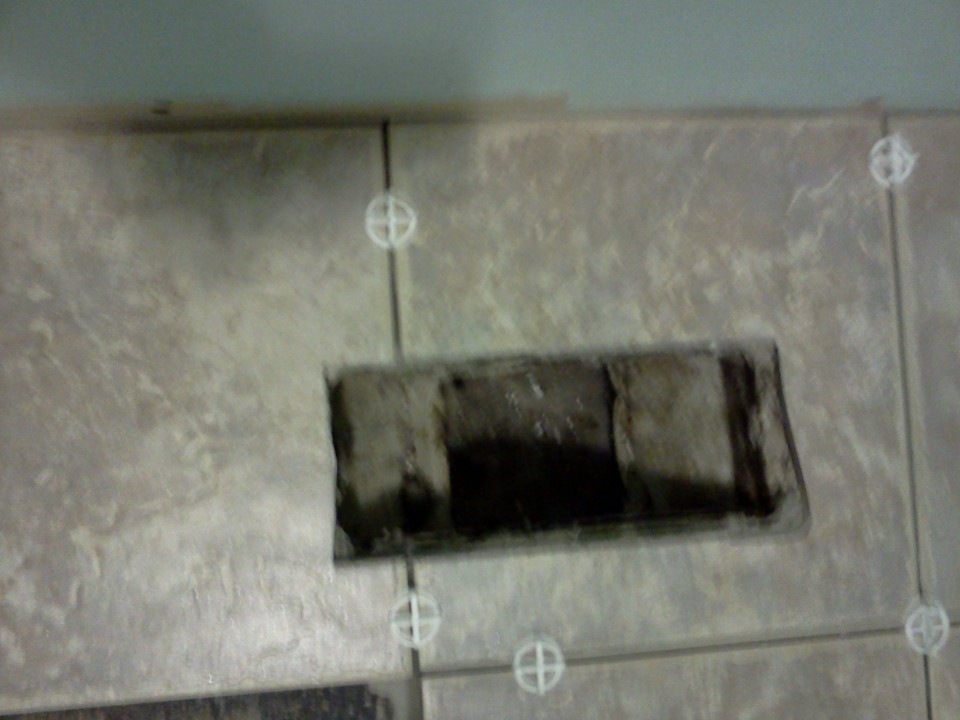
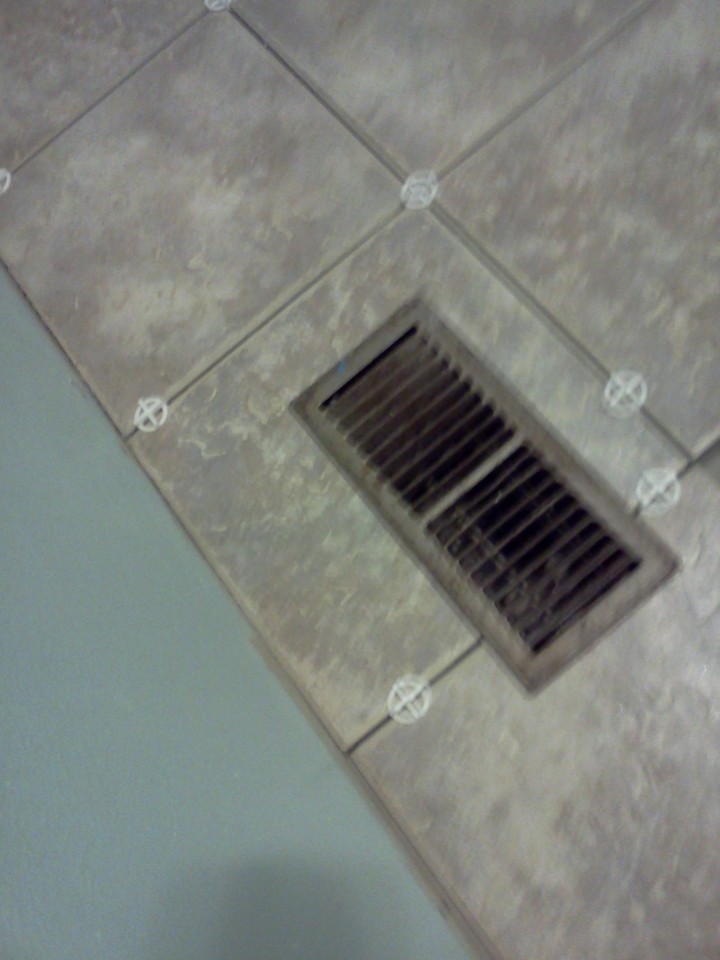
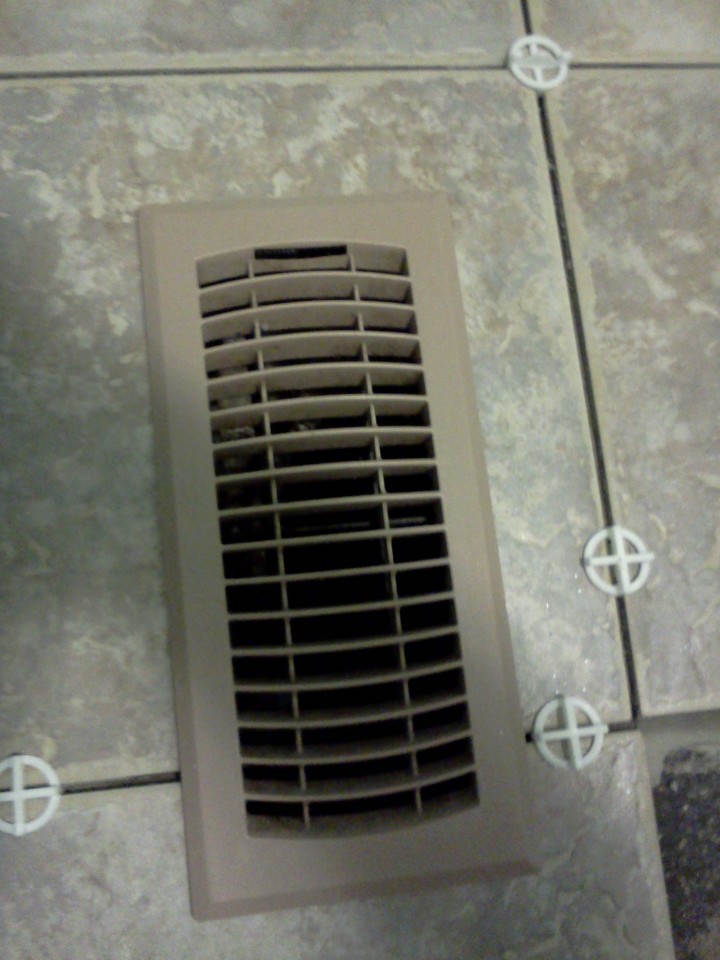
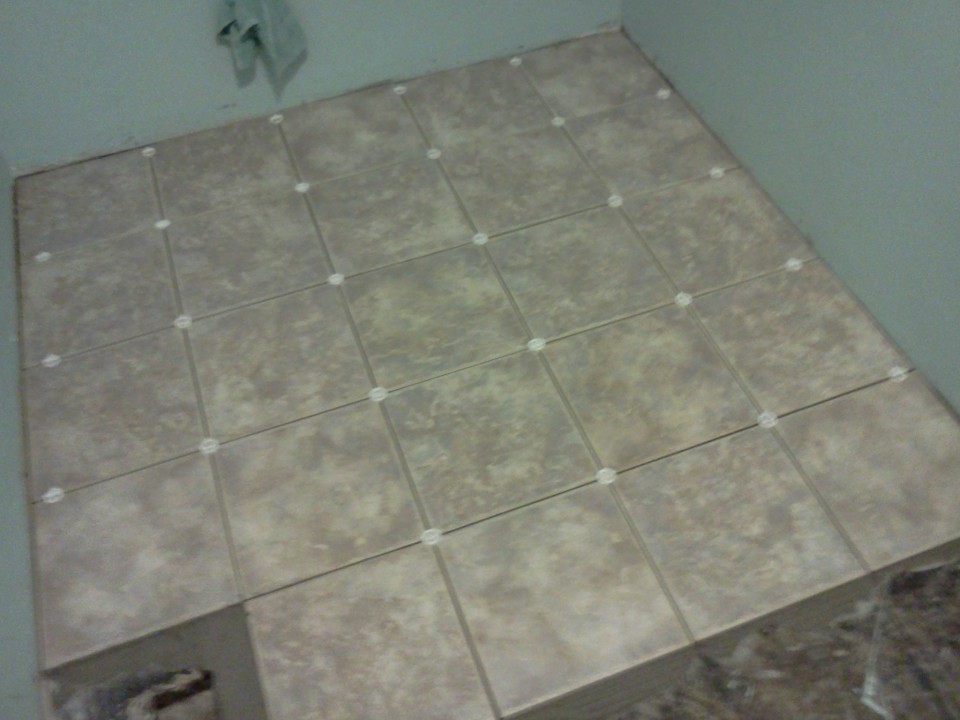
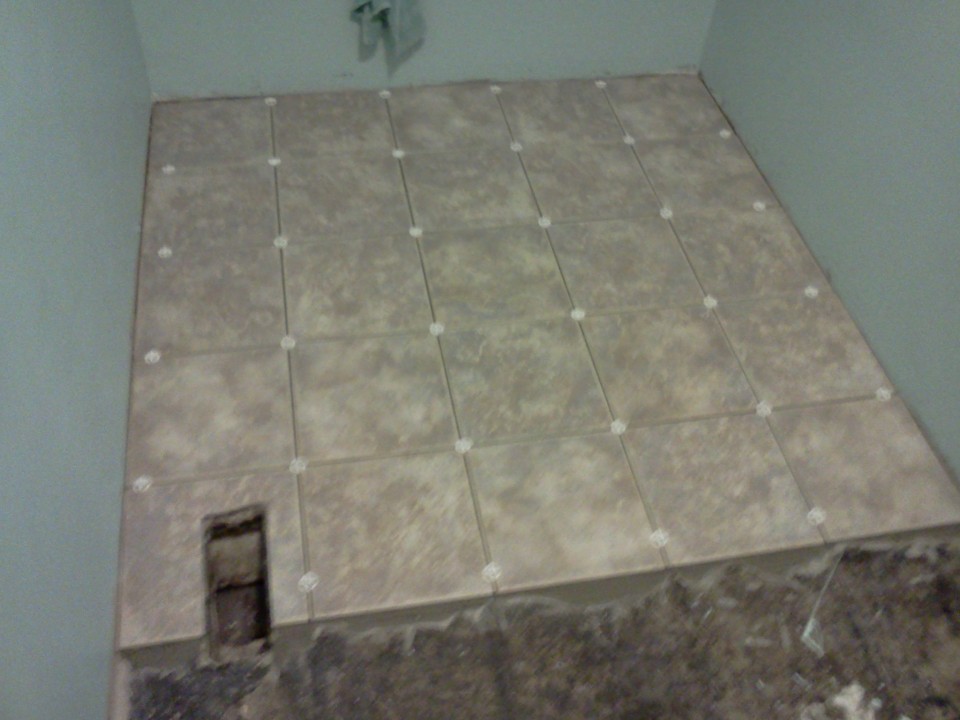
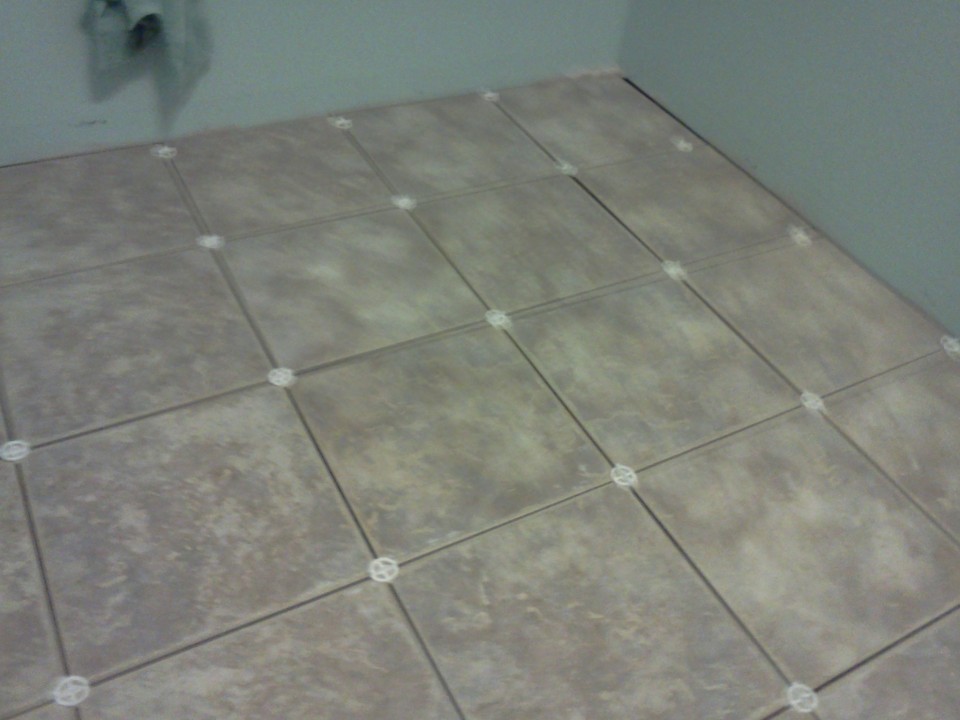
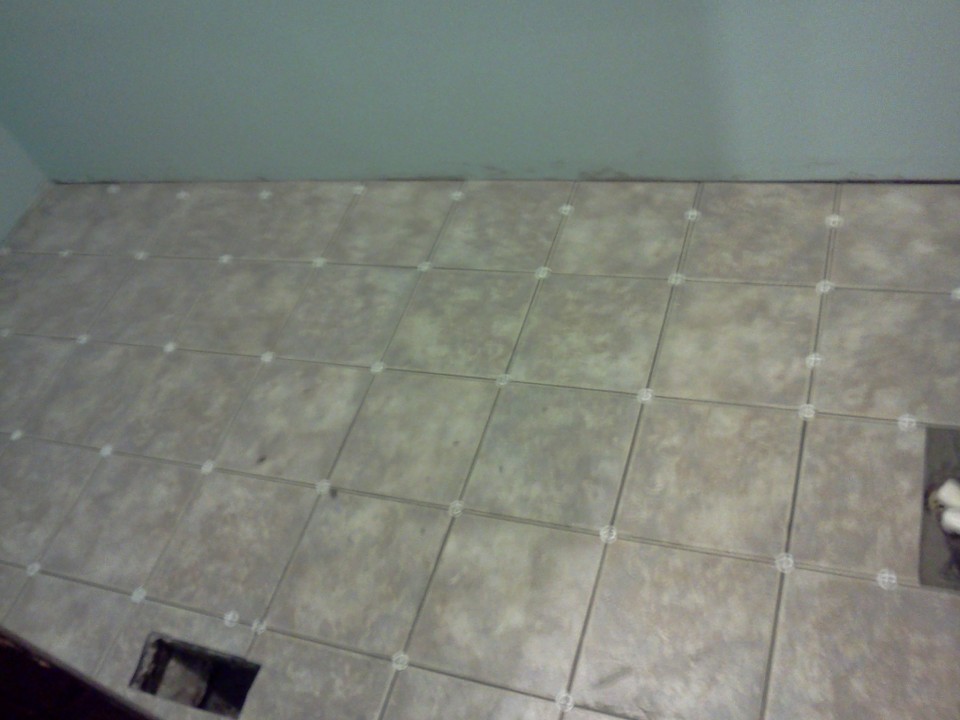
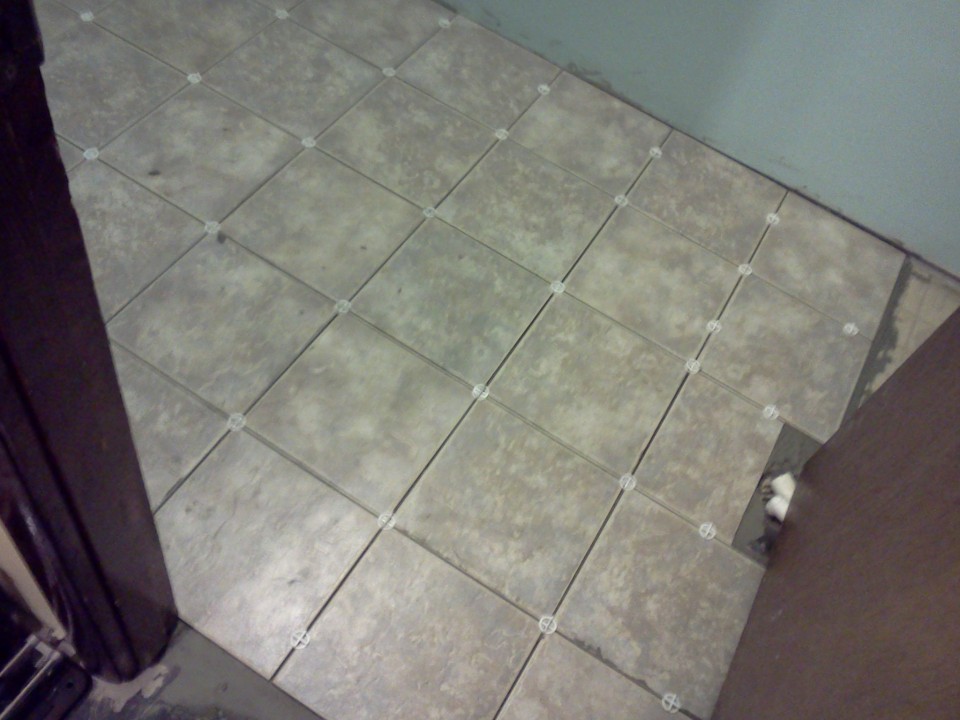
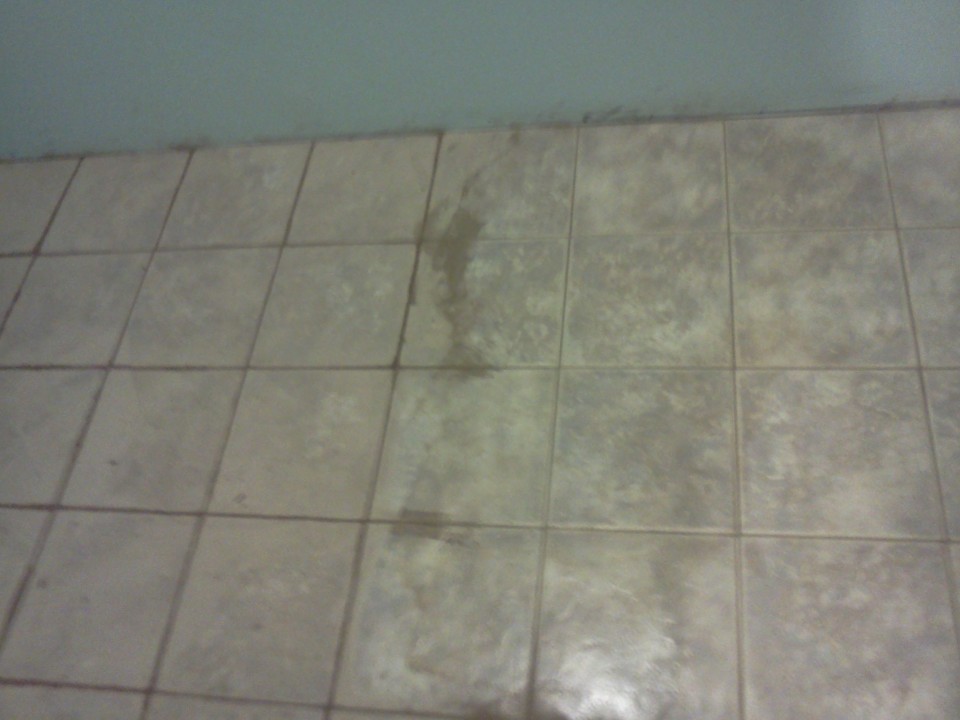
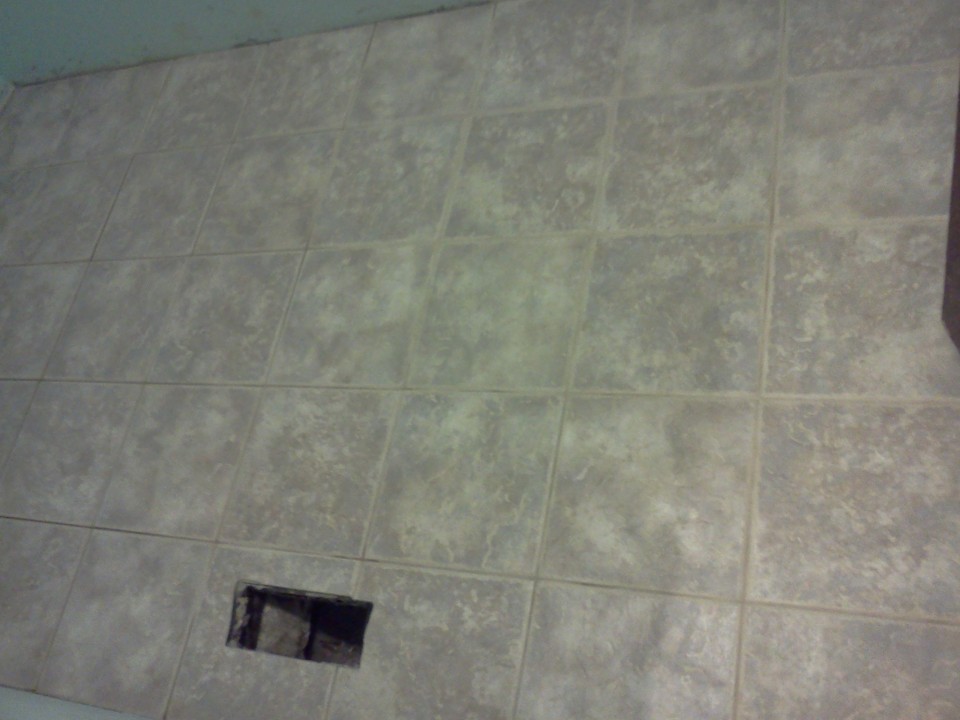
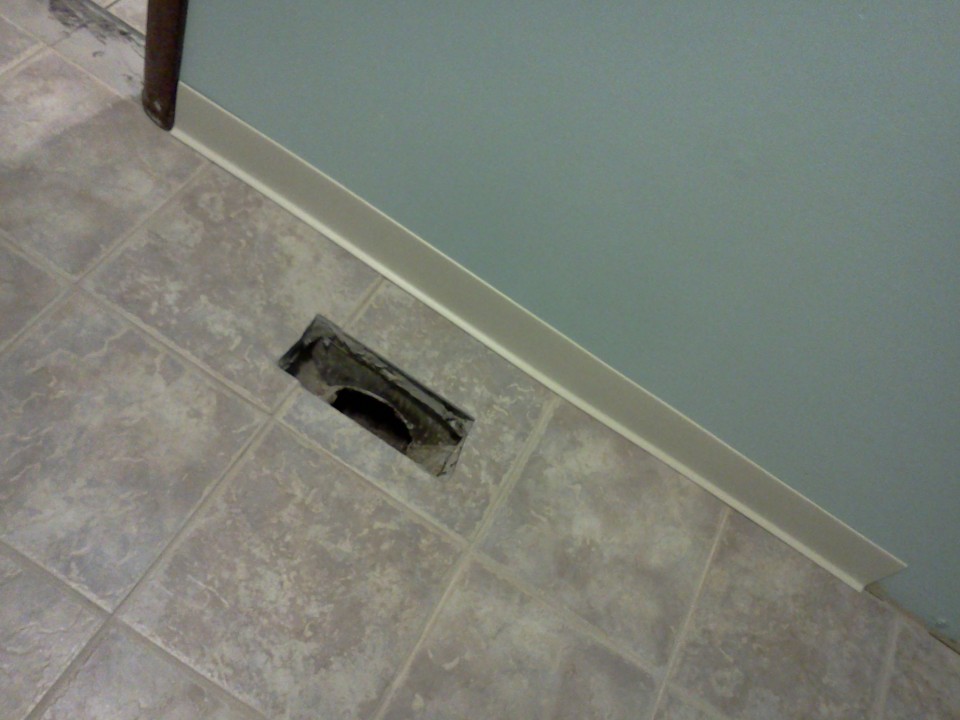
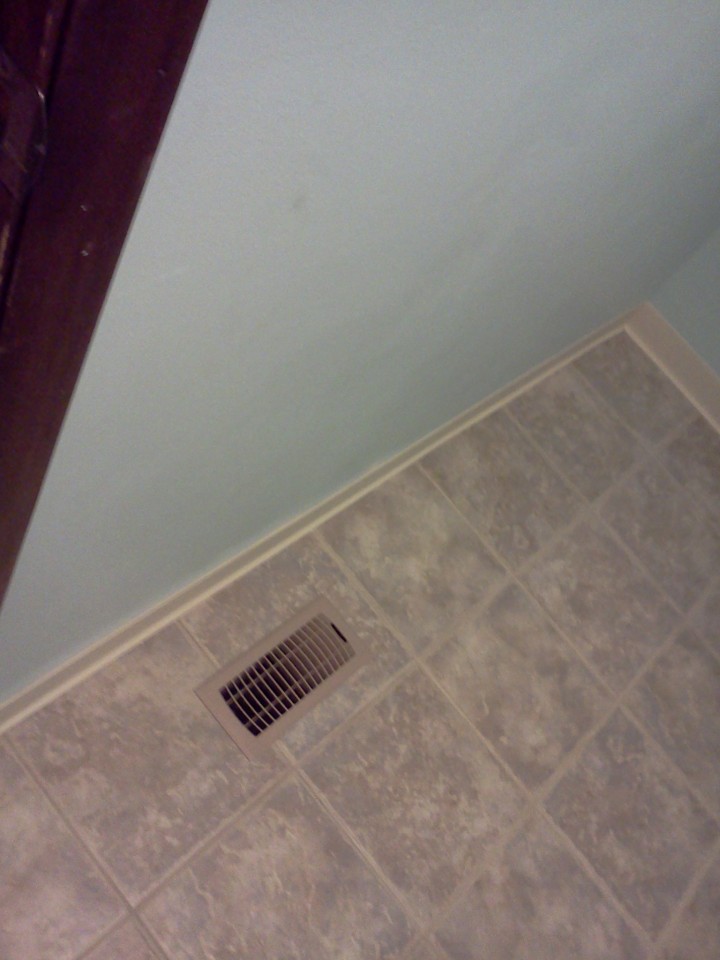
Below are the pictures showing the laundry room before and after laying the tile on the thinset mortar. Also shown are the cuts made for the floor register and how well the register cover fits.
Please excuse the picture quality as they were taken with a mobile phone.

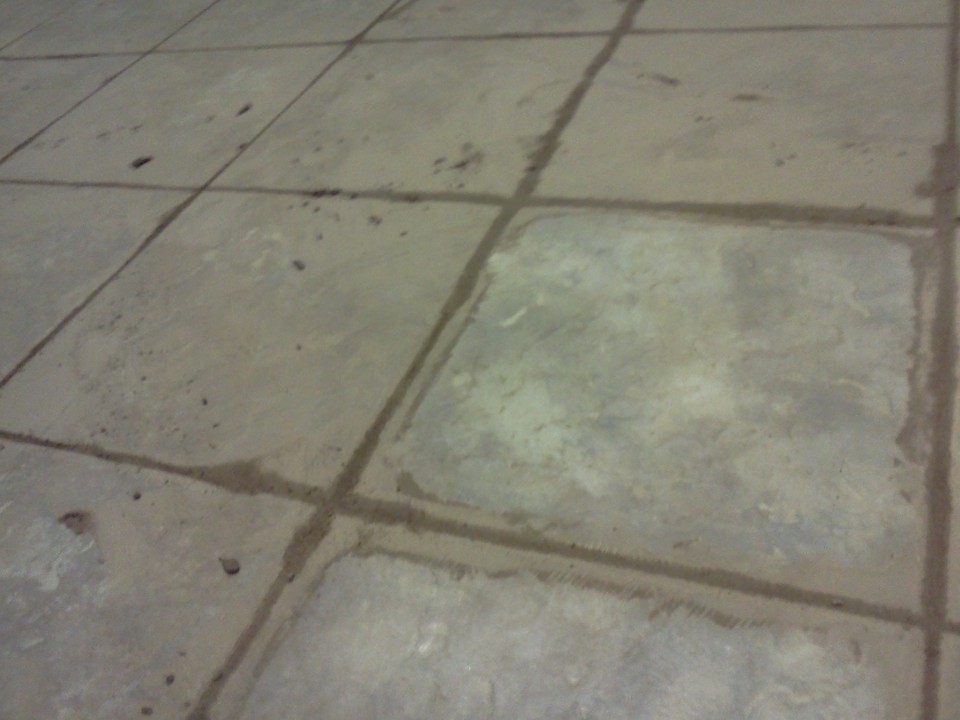
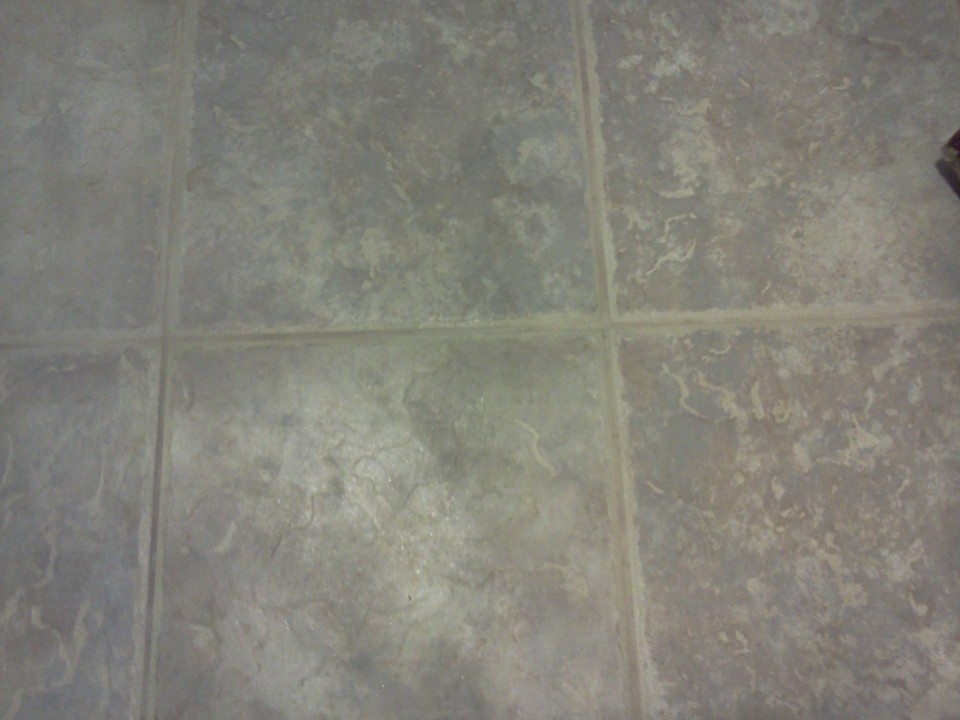
The next set of images show the grout haze drying and the start of the grout cleanup. To make grout cleanup easier, the tiles were sealed with stone/tile sealer prior to grouting, a tip I picked up from a friend who does flooring for a living.
I learned the hard way, but do not let your grout dry too long, else you really have to use a ton of elbow grease to dress the grout lines.
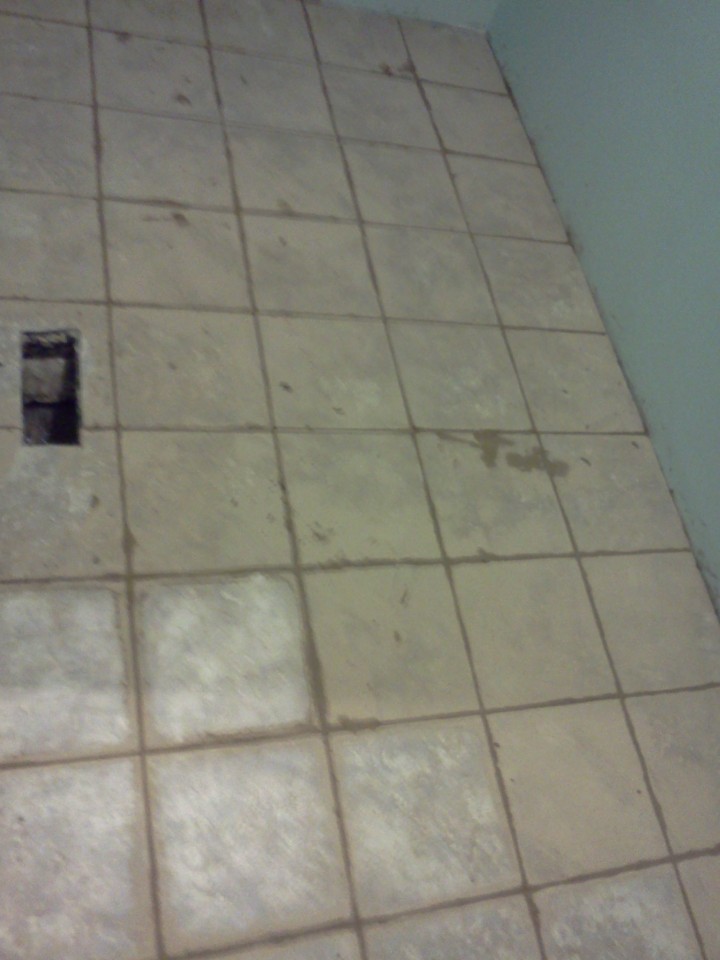
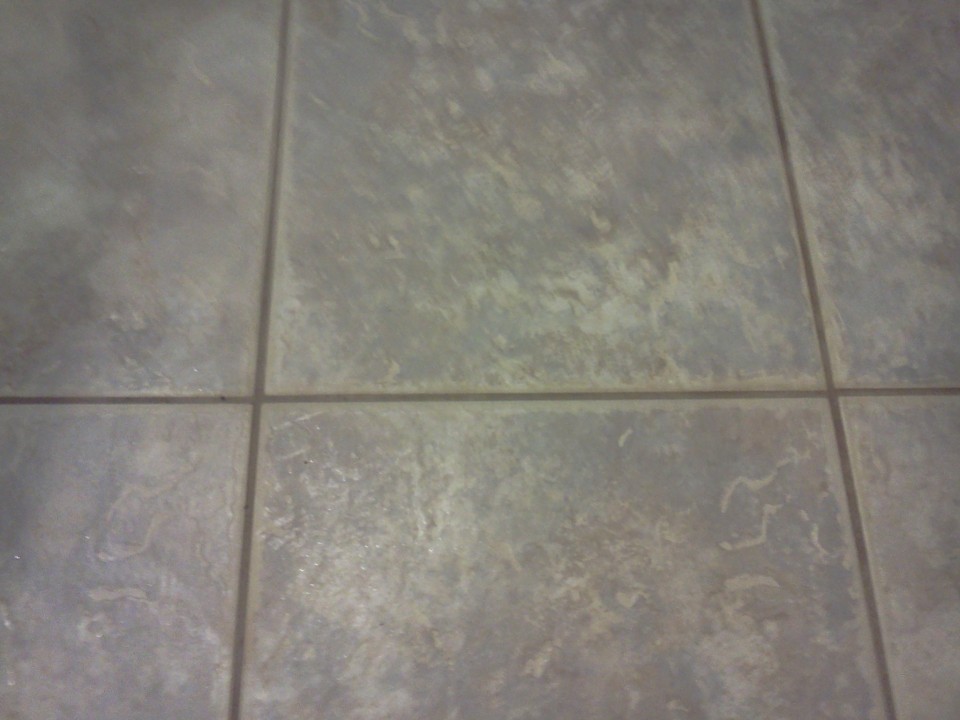
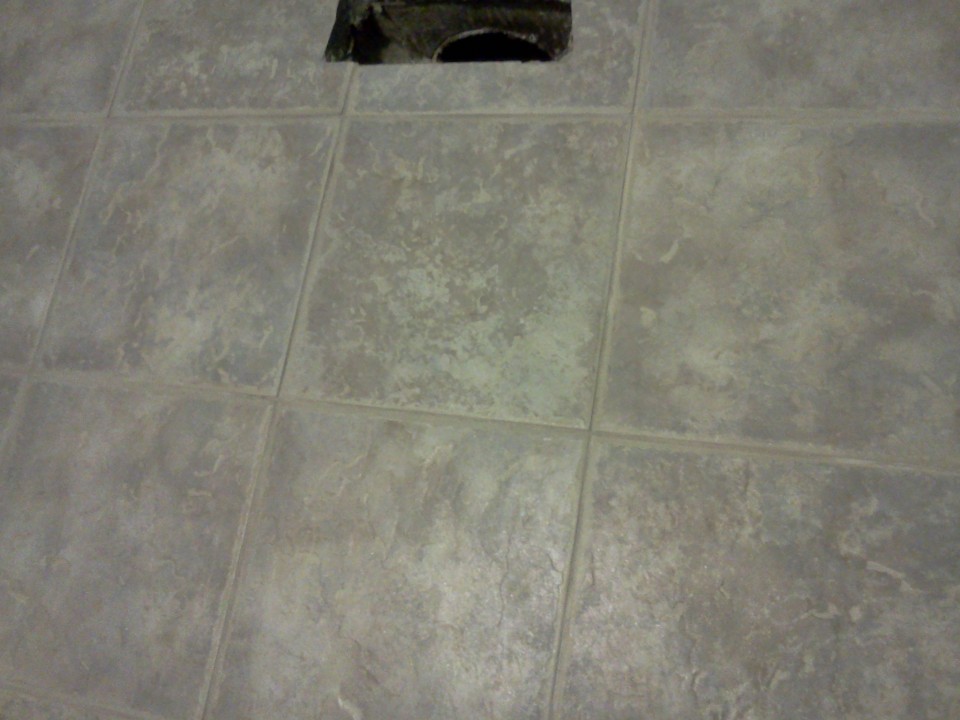
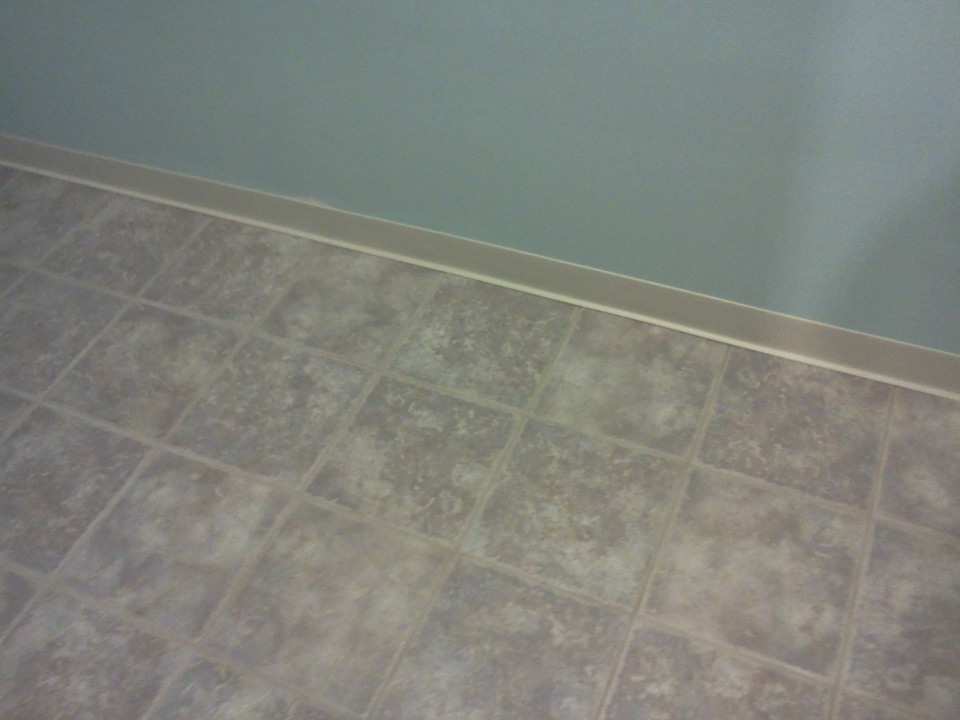
The following images show the dried/cured grout and cleaned/sealed tiles. After cleaning grout haze from tiles and allowing the grout to dry for 72 hours, additional tile sealer was applied to the tiles and grout.
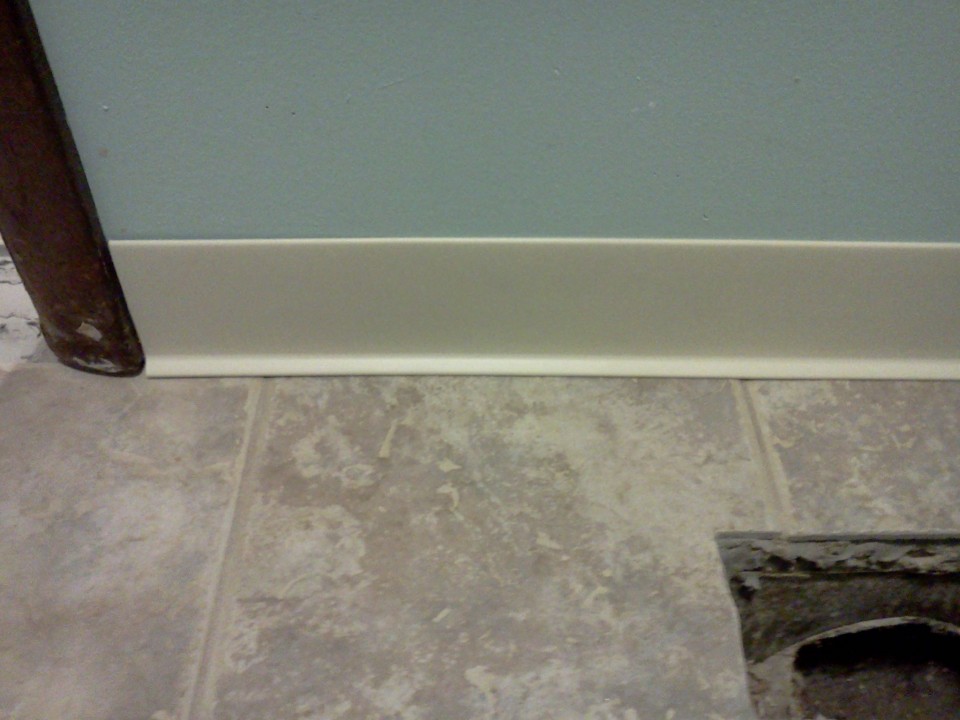
Rubber cove base was used instead of wood moulding due to the wet nature of the laundry room.

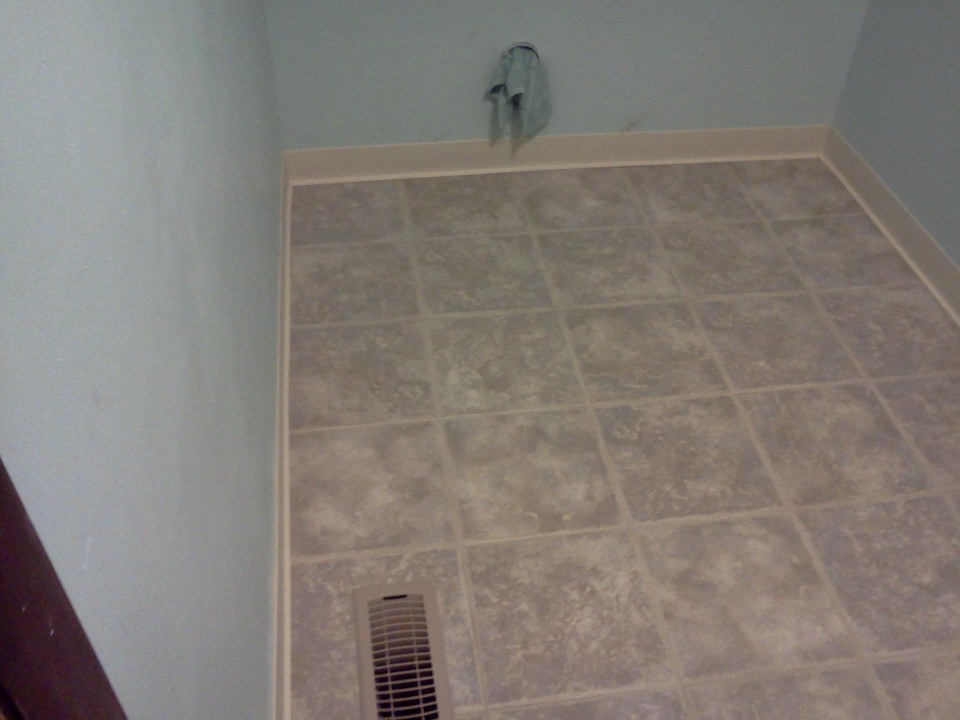
Finished flooring with the washer and dryer reinstalled. The wifey is happy and can do laundry again. Sure looks great!
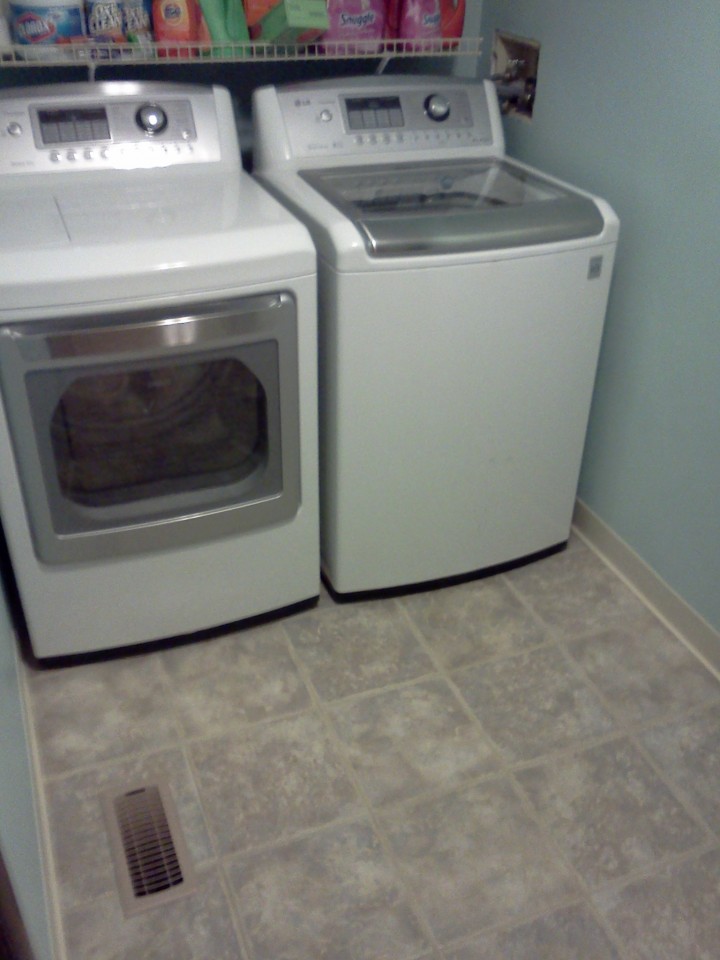

In summary, I should have leveled the entire floor with self leveling compound, as there are a few uneven places, although they are primarily behind the washer and dryer, so not exactly noticeable.